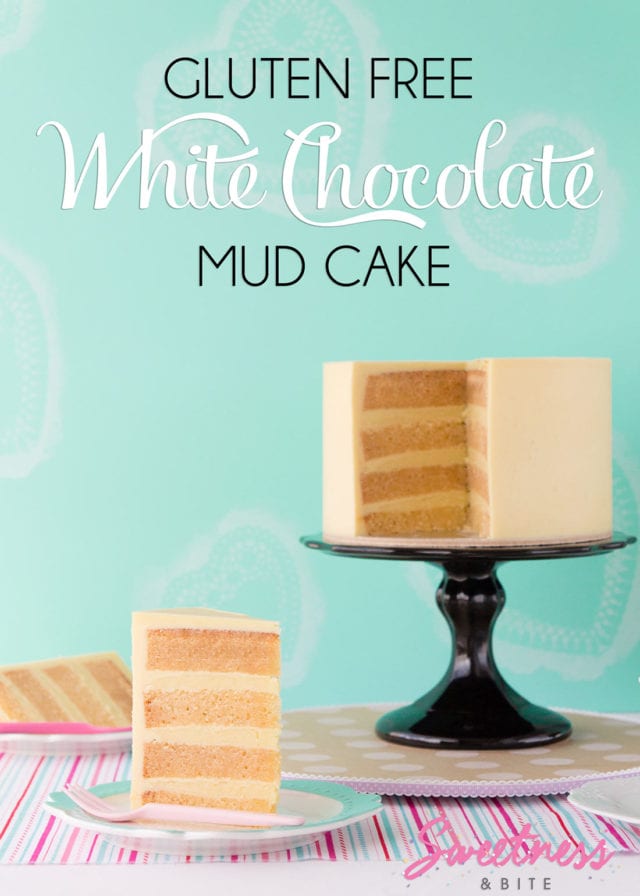
Gluten Free White Chocolate Mud Cake
This post may contain affiliate links to products I recommend. I receive a small commission at no cost to you if you make a purchase using my link.
Oh look, cake!
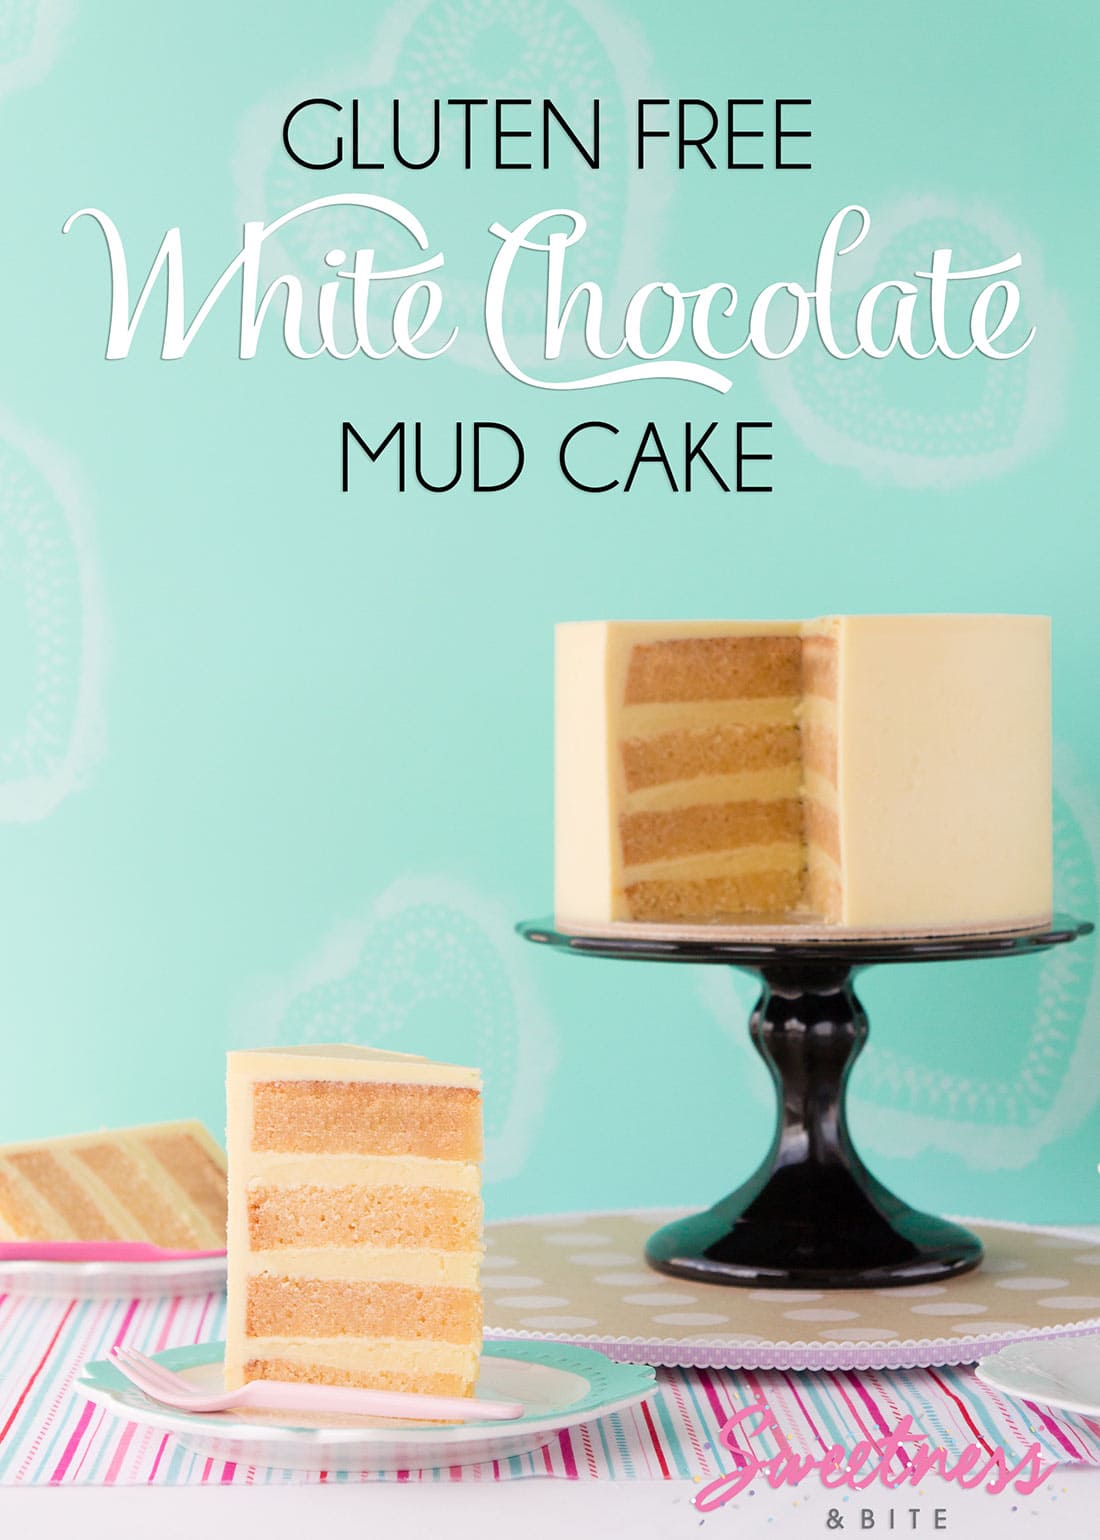
Ok if you’ve been following along, you shouldn’t be surprised. I promised gluten free cake recipes, and I generally follow through. Unless I’m tired and having a bad week. In which case you just have to wait a little longer. Anyway, cake. This cake. Gluten free white chocolate mud cake. Short sentences much?
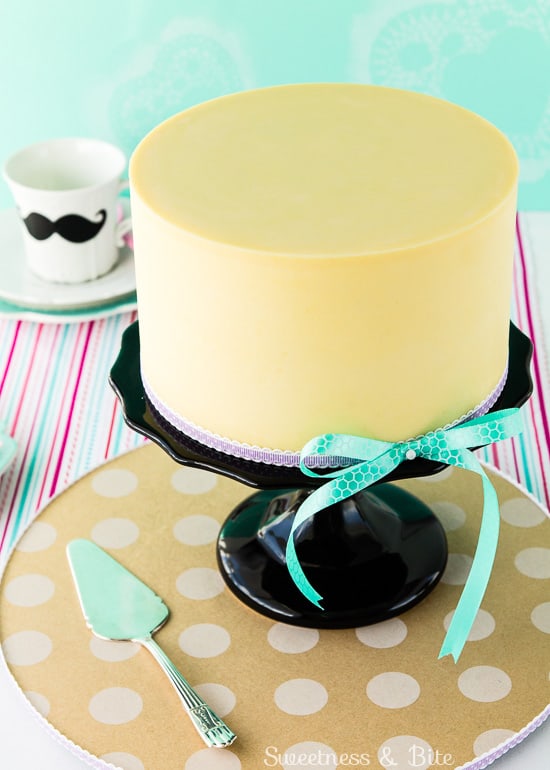
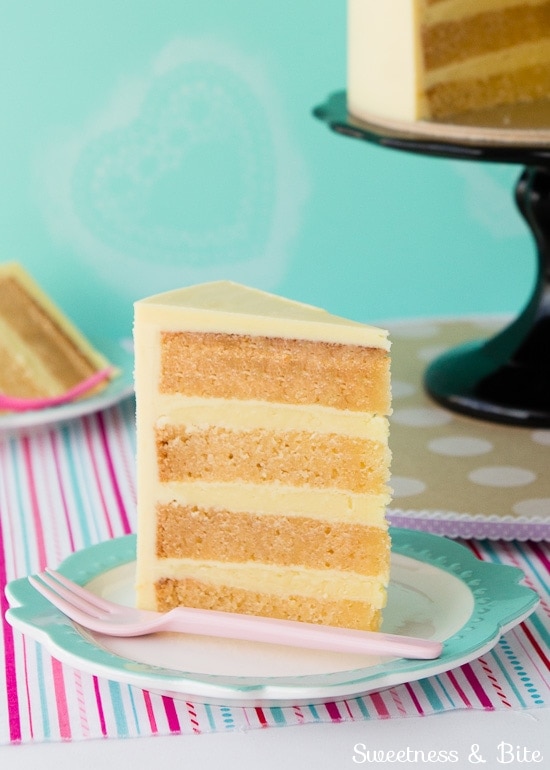
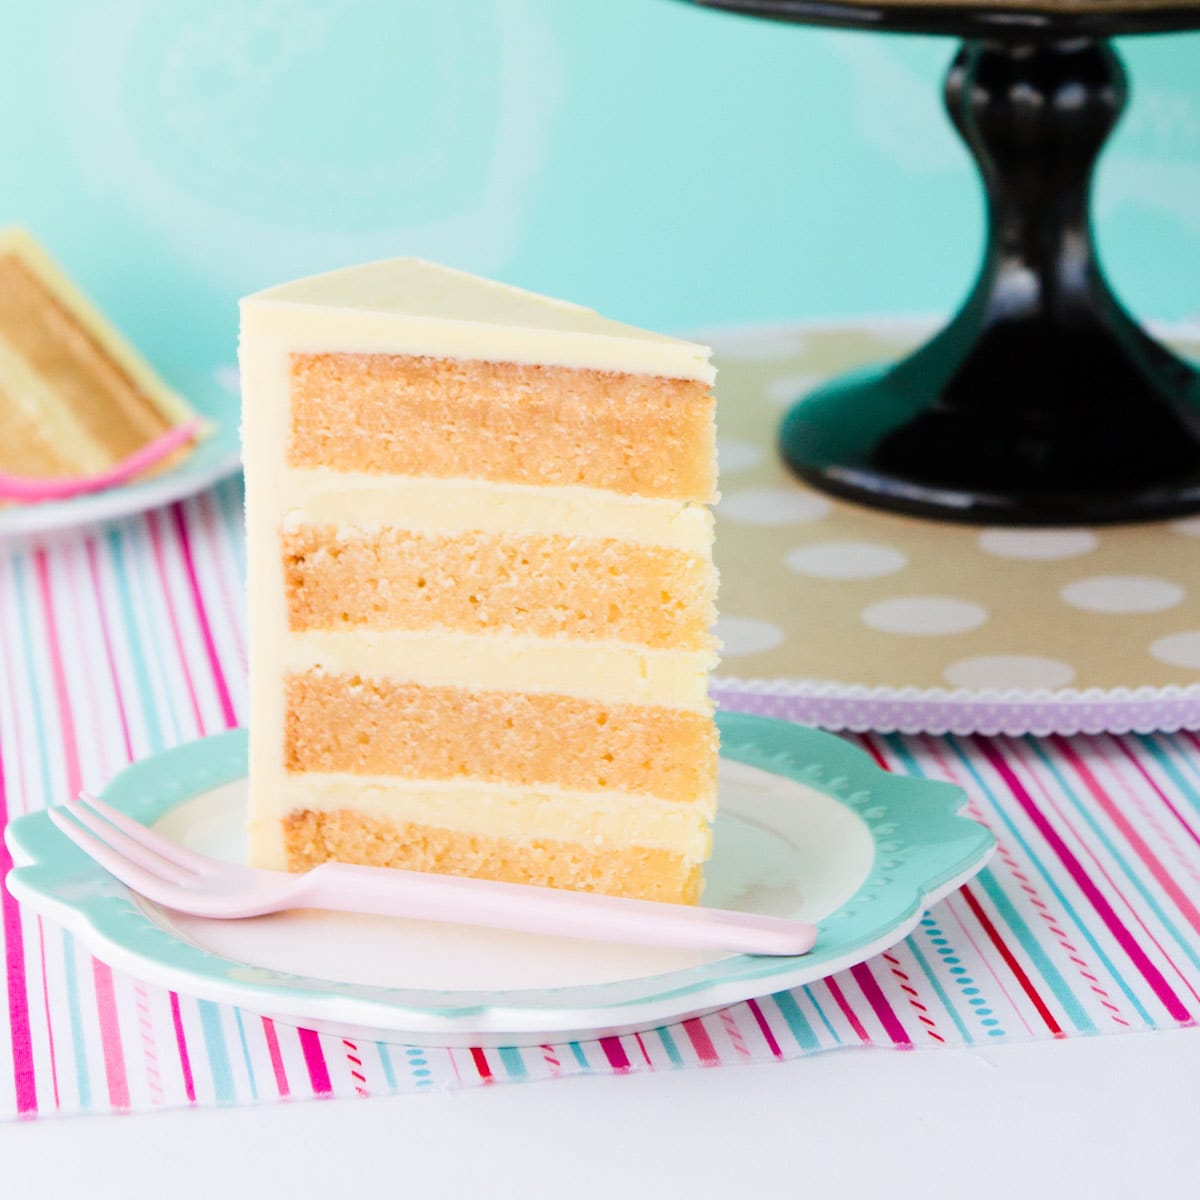
I used to be a chocolate girl. Usually the darker and richer the better. But in the last few years I have discovered a new-found respect for the lighter flavours of white chocolate and vanilla. This gluten free white chocolate mud cake is a delicious combination of the two, smooth white chocolate flavour with a hint of vanilla in a moist and dense cake.
The recipe is based on the popular Citrus Mud Cake recipe from Taste.com.au. When I started decorating cakes and baking mud cakes, it took me a while to settle on a white chocolate mud cake I was happy with. There are several popular recipes floating around the cake world, but this is the one that worked best for me, so it made sense to adapt this one to make it work gluten free. And boy, does it work…
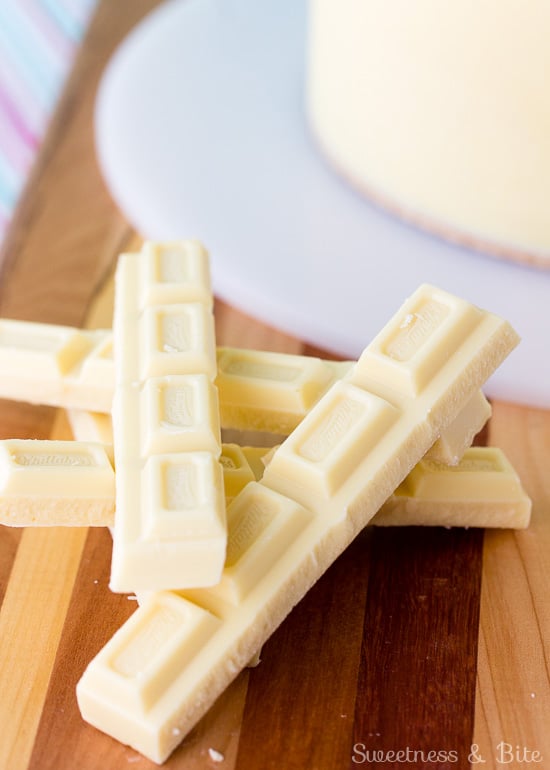
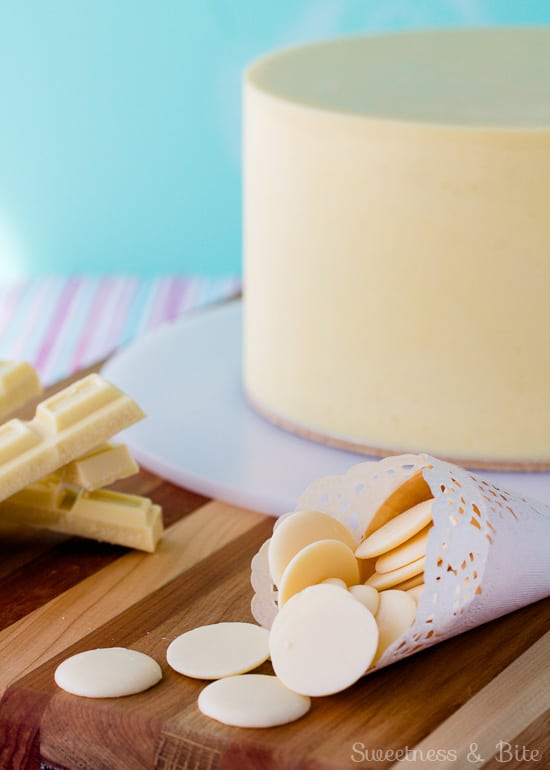
The key to an amazing white chocolate mud cake is to use a good quality white chocolate. One that actually contains cocoa butter, rather than a compound chocolate that uses oil instead of cocoa butter. ‘Cause white chocolate is already walking a fine line to be classed as chocolate, and compound chocolate is really just vanilla flavoured sugary fat. Have I convinced you?
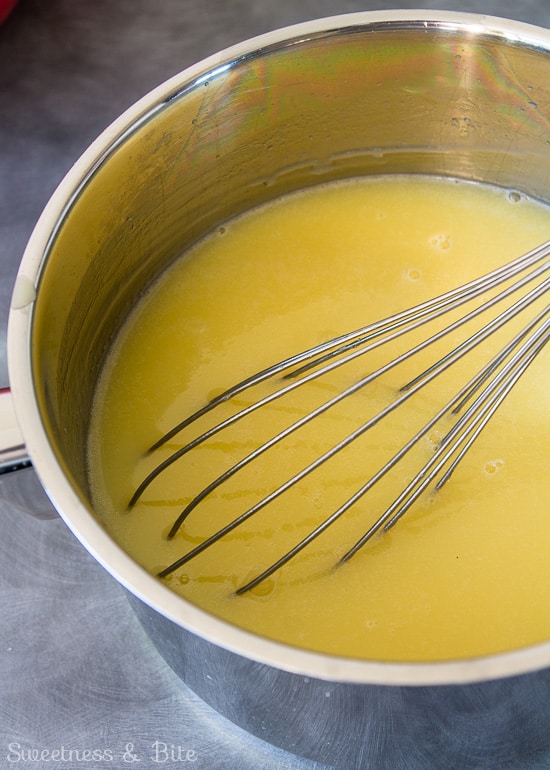
Just like the dark chocolate mud cake this is an easy melt-and-mix cake. The milk, butter, white chocolate and sugar get melted…
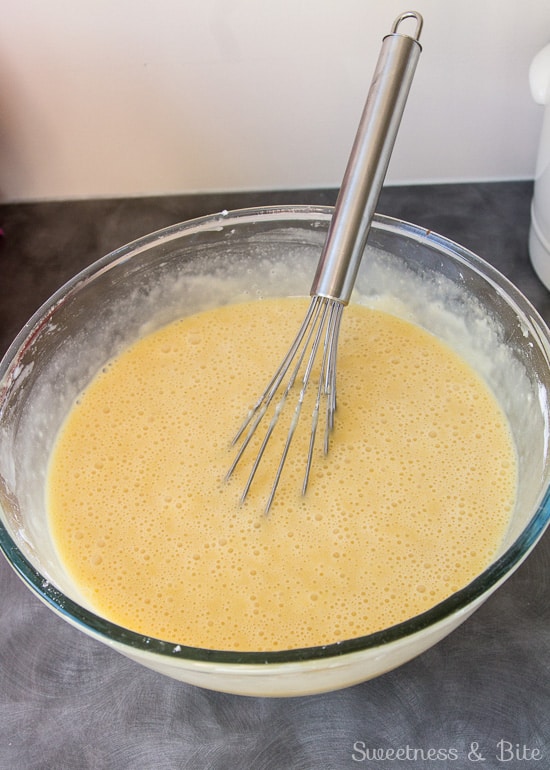
And then the vanilla, dry ingredients and eggs get mixed in.
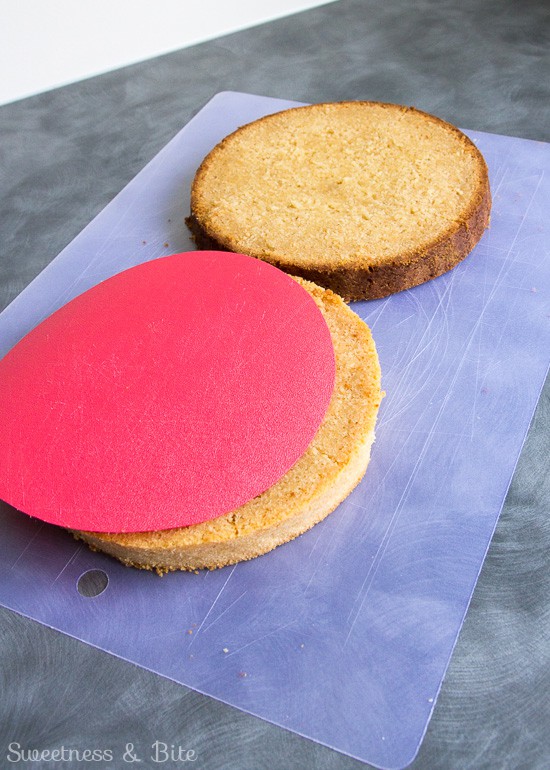
Easy. I didn’t adjust the batter amount at all, so this makes a very tall (approx 4” high) seven inch round cake. The reason I didn’t want to make a shorter cake is that white chocolate mud cakes get a rather brown crust. Even with baking strips, (and I used baking strips with twice the usual thickness of wet paper towels), you can see that the crust is still a lot darker than the rest of the cake.
Because I’m all about cake looking and tasting equally good, I like to trim off both the top and bottom crusts of the cake. So I kept the full sized recipe to make sure I had the height to compensate for my compulsive trimming habit. If you’re not like me, then you can scale down the recipe (or use an 8″ tin instead).
To make the slices look prettier, and to give enough room for ganache on the sides of the cake, I trim off the darker edges of the cake as well. To make it easier I’ve made these templates from thin plastic cutting boards- I just trace around a cake board and then cut out the circle approx. 1cm/ ½” inside the line. Then I just place the template on each cake layer and use a small serrated knife to trim them.
I made this a plain gluten free white chocolate cake, but you can totally add back in the citrus zest from the original recipe for a lovely zesty cake. You can either use all three zests (lemon, lime and orange) or pick one for a single fruity flavour cake.
White chocolate ganache is the perfect filling for this cake, and once again it’s important to use a quality chocolate. Kiwi readers will be able to tell I love Whittaker’s chocolate in all shapes and forms. And I also like it in moustache tea cups, but that’s kinda beside the point.
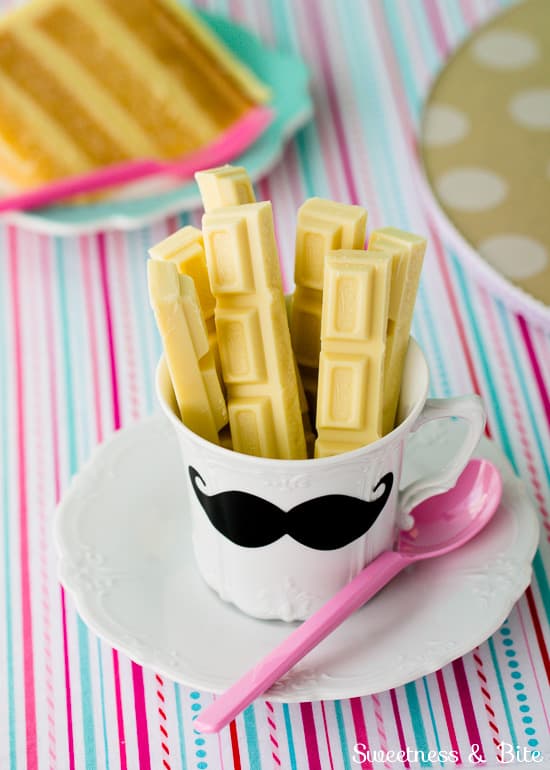
Good quality chocolate buttons are also a good choice, because really, who actually enjoys chopping up all that chocolate (my girly hands sure don’t!)
This cake is not quite as dense as the dark chocolate version, but it is still suitable for most decorating uses, including a bit of light carving. I wouldn’t go making a life-sized cake version of your pet alpaca out of it, but with some chilling and the use of ganache you could make most shapes out of it.
You can use the CakeOmeter to adjust the recipe for the tin size you want. As always, if you’re new to gluten-free baking, check out my gluten-free cakes for decorating post for tips, tricks and some more recipes.
Gluten Free White Chocolate Mud Cake
Ingredients
- 420 g gluten free flour*
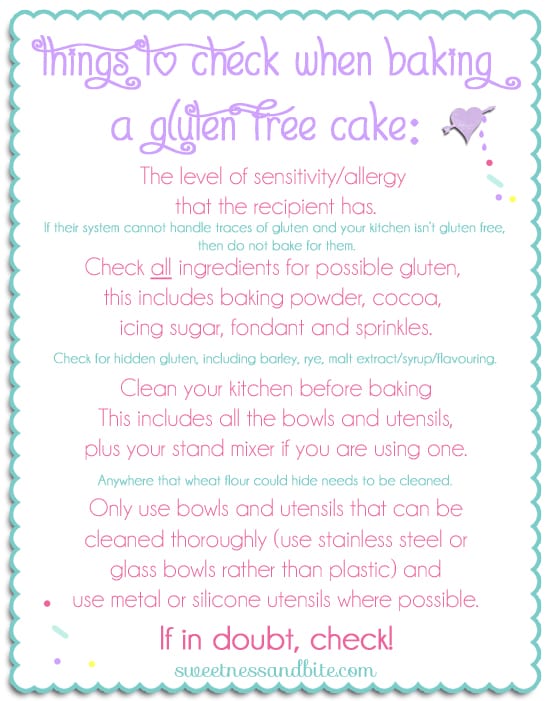
- 2 teaspoons baking powder check that it is gluten free
- 1 teaspoon Xanthan gum
- 350 ml milk
- 350 g butter cut into cubes
- 180 g white chocolate chopped
- 400 g caster sugar
- 2 teaspoons vanilla extract
- 4 eggs
Instructions
- Heat the oven to 160°C (350°F). Line the base and sides of a 7” round (at least 3” high) cake pan and make a baking strip and foil lid.
- In a medium bowl, sift together the flour, baking powder and xanthan gum. Whisk to combine well.
- In a large, heavy-based saucepan, heat the milk and butter over medium-low heat, stirring occasionally with a wire whisk until the butter melts.
- Add in the white chocolate, and stir over low heat until the chocolate has melted.
- Whisk in the sugar until it has dissolved (this could take several minutes). Remove from the heat and stir in the vanilla extract.
- The liquid mixture now needs to cool until you can comfortably hold your finger in it. You can either transfer the mixture to a large heatproof bowl to cool it faster, or you can leave it in the pot and wait a bit longer for it to cool.
- When cool, add the dry ingredients in three additions. Mix with the whisk, but use a folding rather than whipping motion to avoid air bubbles.
- Whisk the eggs together with a fork and add to the batter, mixing again with the whisk.Leave the batter to sit for a minute to allow bubbles to come to the surface. Pour the batter into the prepared pan and bang it on the bench to remove any large air bubbles.
- Place the foil lid over the top and bake for 2.5 – 3 hours. To test if the cake is done, use a thin skewer. When the skewer comes out clean, insert a thin-bladed knife into the middle of the cake. When that comes out clean or with only a few crumbs attached, the cake is done. If you have an instant-read probe thermometer, the centre of the cake should be at least 99°C.
- Remove the foil lid and allow the cake to cool in the cake pan for half an hour or so, then cover the top with foil (either unfold the edges of the foil lid and use that, or use a fresh piece of foil), securing around the edge of the pan. Leave the cake overnight to cool completely before removing from the pan.
Notes
Nutritional Disclaimer: Any nutritional info provided is a computer generated estimate and is intended as a guide only.
Enjoy 🙂
~Natalie
xx
You May Also Like…

